Main Course

The Easiest Pizza Crust

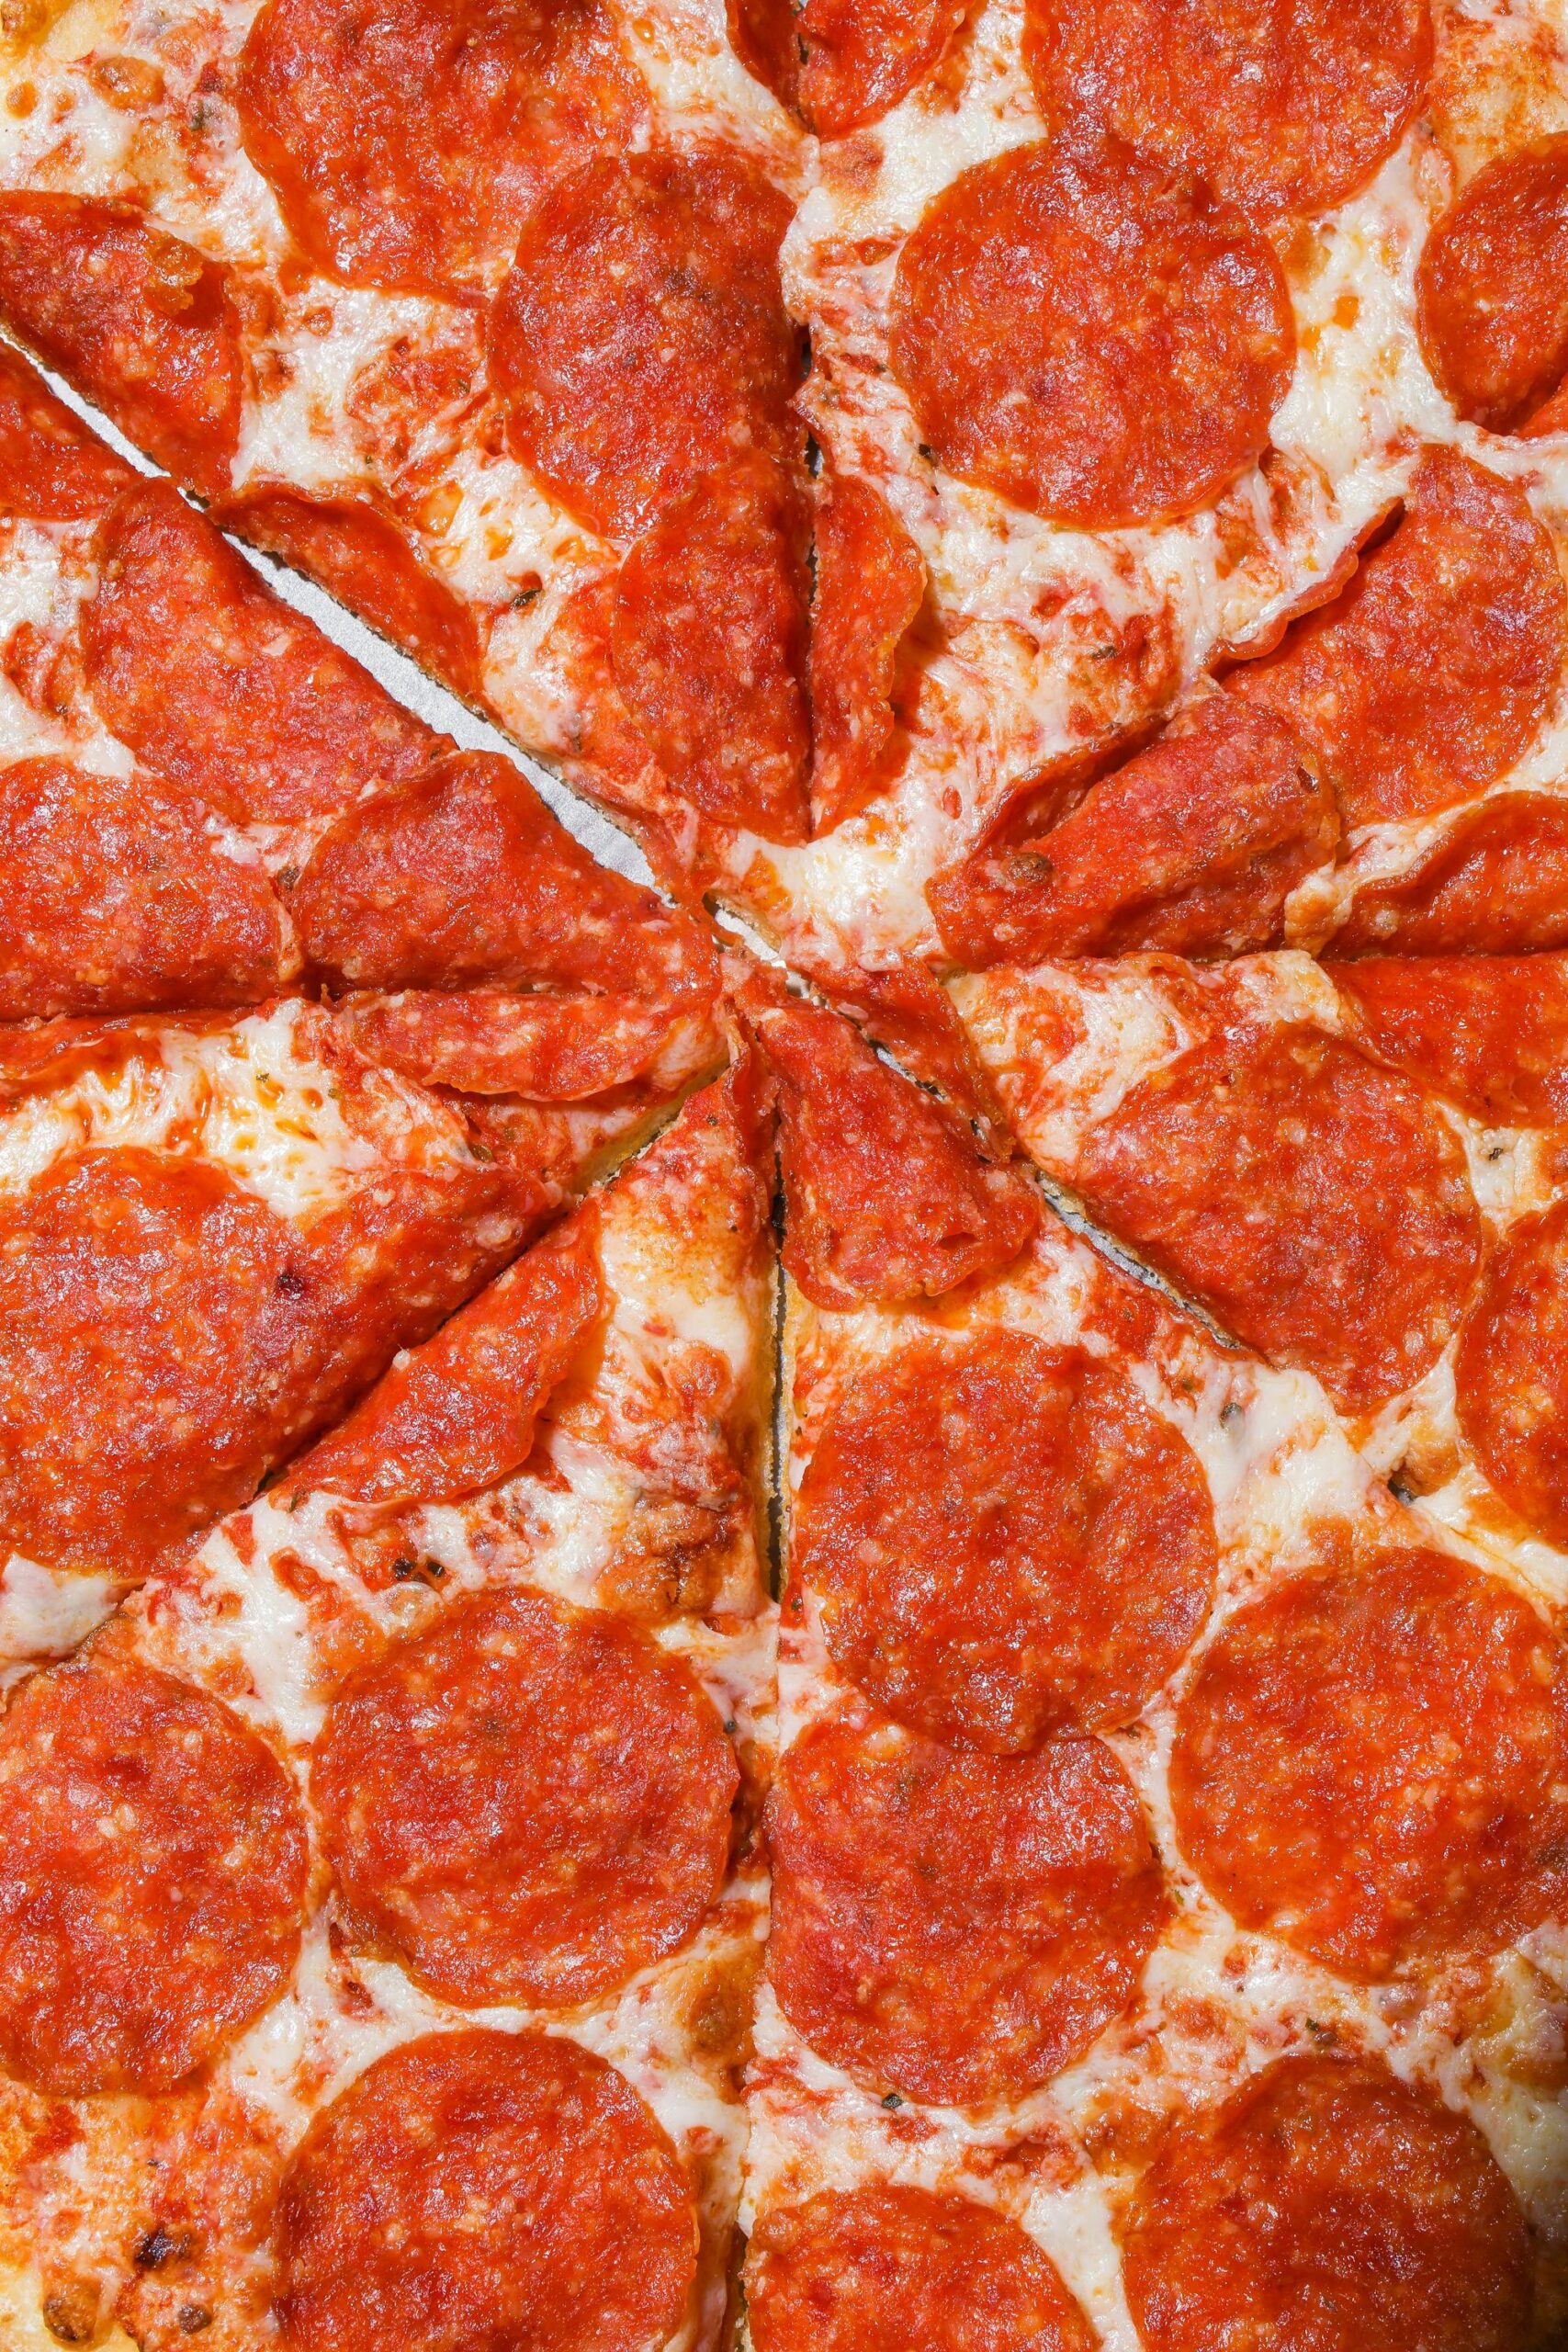
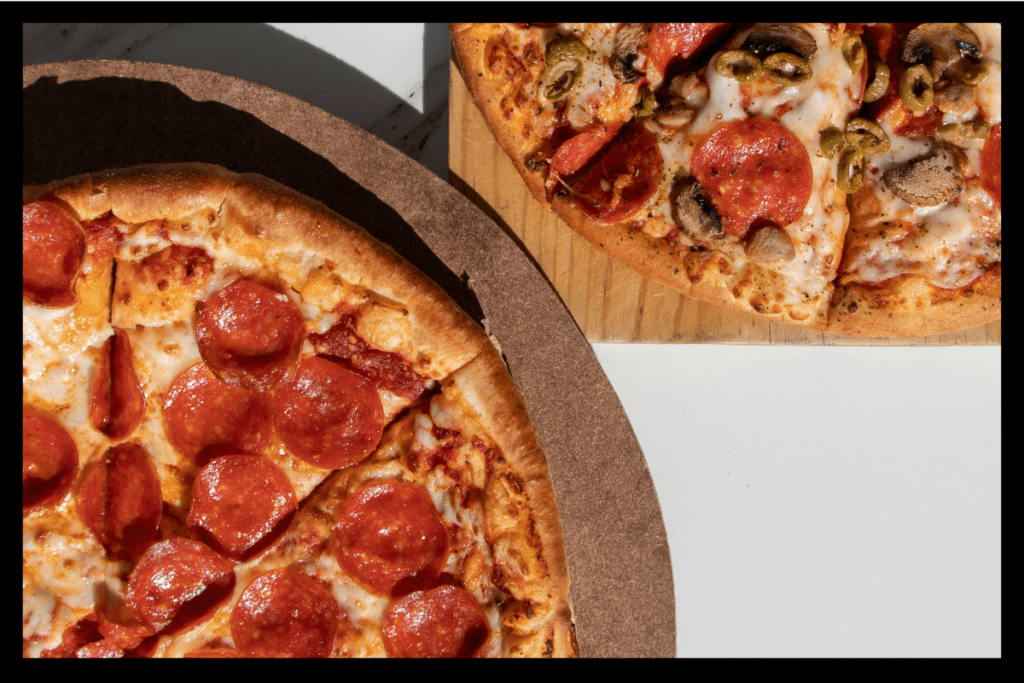
sliced pepperoni pizza

This homemade pizza crust recipe is easy to make and guaranteed to elevate your pizza game to new heights! Each batch makes four medium size pizzas that can easily be frozen, making it so easy to have great homemade pizza any night of the week without the price tag of a fancy pizzeria.

What type of flour works best for this homemade pizza crust recipe?

Though this recipe can be made with all-purpose flour, I highly recommend using bread or pizza flour due to the higher gluten content. There are several reasons why you’ll want to do this…

  • Protein Content: High-gluten flour has more protein (usually 12-14%) than all-purpose or low-gluten flours. When hydrated and kneaded, this protein forms a stronger gluten network which helps the dough maintain its shape, stretch without tearing, and create the characteristic chewy texture of pizza crust.
  • Elasticity: High-gluten flour provides the elasticity needed for shaping the dough into a thin crust or hand-tossing it without ripping.
  • Chewy Texture: The robust gluten network results in a chewier bite, which is ideal for pizzas with a hearty, satisfying crust.
  • Crisp Exterior: High-gluten doughs bake with a beautifully crisp exterior while retaining a soft, tender interior. This is perfect for achieving the balance of crunch and chewiness in a pizza crust.
  • Holds Heavier Toppings: A stronger dough made from high-gluten flour can support heavier toppings without becoming soggy or collapsing.

Can I make a batch of pizza dough to freeze and use later?

Absolutely! This recipe was created specifically to make several, freezable batches. Just keep a few things in mind…

  • Freeze After the First Rise: Allow the dough to rise once after kneading, then freeze. This way, it’s ready to use after thawing.
  • Oil the Dough: Lightly coat the dough balls with olive oil to prevent them from drying out or sticking.
  • Use Airtight Packaging: Place the dough balls in individual freezer bags or wrap them tightly in plastic wrap, then seal them in a larger container or bag for extra protection.
  • Label with Date: Write the freezing date on the packaging so you know how long it’s been frozen. Pizza dough can be stored in the freezer for up to 3 months. Beyond this, the quality may start to decline.
  • Thawing the Dough: Place the frozen dough in the fridge for 8-12 hours (overnight) to thaw slowly. This helps preserve the texture.
  • Before Using the Dough: Bring the dough to room temperature for about 30 minutes to 1 hour after thawing. This will make it easier to stretch and shape.
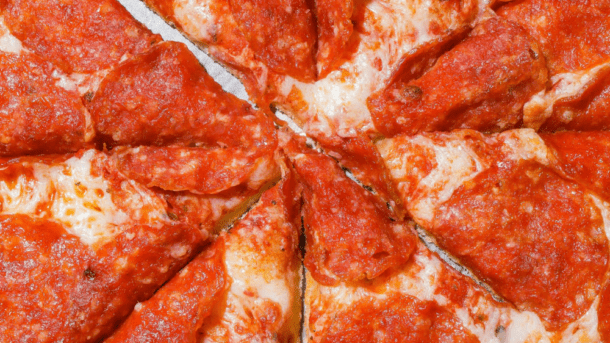
pizza crust recipe

The Easiest Pizza Crust

Learn how to make the perfect pizza crust with this easy, foolproof recipe! Soft, chewy, and full of flavor, it's perfect for homemade pizzas. Step-by-step instructions included!
Prep Time 20 minutes
Cook Time 15 minutes
Course Main Course
Servings 4 pizzas

Equipment

  • Stand mixer (optional)

Ingredients
  

  • 2 packages quick-rise yeast (2 ¼ tsp. each)
  • 2 cups warm water (115℉)
  • 1 tsp. white sugar
  • 5 cups bread flour
  • ¼ cup olive oil
  • 2 tsp. salt

Instructions
 

  • In a large bowl, combine yeast, warm water, and sugar. Let the mixture sit for about 10 minutes to ensure yeast activates. The mixture should be foamy.
  • Add bread four, salt, and olive oil. Stir using a wooden spoon until combined. At this point, you can either use a stand mixer with an attached dough hook to knead on medium-low speed for 10 minutes, or knead by hand until dough looks smooth.
  • Once kneaded, place in a bowl covered with plastic wrap and place in a warm area to let rise for about 30 minutes. The dough should double in size. (In an oven with just the light on works great for this step…just don't actually turn the oven on!)
  • Use fingers to pull dough from the sides of bowl. The dough should be very webby. Remove the dough from the bowl and place on a lightly floured surface. Divide evenly into four pieces. Shape each of the four pieces into a ball.
  • You can now either roll out and bake your dough or freeze.

To Bake:

  • Preheat the oven to 500℉. Roll dough ball onto lightly-floured surface to about a 13-inch circle. Place in pizza pan or on a baking stone. Use a fork to poke several holes in dough to avoid air bubbles when baking. Top with your favorite pizza sauce and toppings. Bake each pizza for 10-15 minutes or until cheese is melted.

To Freeze:

  • Lightly coat with olive oil and cover each ball of dough with plastic wrap or parchment paper. If freezing multiples, flash freeze each ball separately for about 30 minutes before placing into freezer bag.
Keyword pizza

Corned Beef Brisket in the Oven

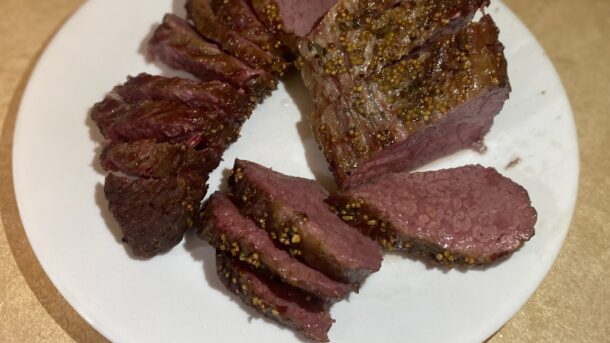
Corned Beef Brisket on Plate.

Have you ever bought a Corned Beef Brisket from the store and wondered if you can cook it in the oven instead of on the stove? Well, you can and the flavor is so much better! When you cook Corned Beef Brisket in the Oven, the meat gets a crispy coating and is still SO tender.

What type of beef brisket are you looking for?

  • Point Brisket: Because of its higher fat content, the point brisket is well-suited for slow cooking methods such as smoking or braising. It benefits from long, slow cooking to render the fat and break down the collagen, resulting in tender, flavorful meat.
  • Flat Brisket: The flat brisket is often used for dishes like corned beef or sliced for barbecue. It can be cooked using methods such as smoking, braising, roasting, or even sous vide to ensure tenderness.

So the Flat Brisket is better for this dish, but since I waited too long to purchase one before St. Patrick’s day, we’re going to be using a Point Brisket today 🍀🌈🍺

Try it with a side of Irish Colcannon.

A few things to remember…

  1. Rinse the corned beef brisket under cold water to remove any excess brine or seasonings from the packaging. Pat it dry with paper towels.
  2. Trim the fat cap to about 1 inch thick. You don’t want too much fat, but leaving some adds to the flavor.
  3. Place the brisket, fat side up, on a rack in a roasting pan or baking dish that’s large enough to accommodate it comfortably.
  4. Pour enough water to reach the bottom of the brisket. You don’t want too much because that will cause a “boiled” flavor and that’s what we’re trying to get away from.
  5. Rest the brisket for about 15-20 minutes before slicing so that the juices will reincorporate into the meat.
  6. Slice the brisket against the grain into 1/8 to 1/4 inch slices.
  7. Store in the refrigerator for 3 to 4 days or freeze up to 3 months.
Corned Beef Brisket on Plate.

Corned Beef Brisket in the Oven

Corned Beef Brisket in the Oven is tender, flavorful, and perfect for celebrating St. Patrick's Day or any time you're craving a comforting meal.
Course Main Course
Cuisine Irish

Equipment

  • Roasting pan with rack

Ingredients
  

  • 6 lb. Corned Beef Brisket with Seasoning Packet
  • water

Instructions
 

  • Preheat the oven to 325F. Put a grate (roasting rack) in the bottom of a roasting pan or baking dish large enough to hold the meat.
  • Rinse the corned beef to remove packing. Pat it dry with a paper towel.
  • Trim the fat cap and place meat fat side up on roasting rack. Fill the bottom of the pan with enough water to reach the rack. Be careful NOT to submerge the meat in the liquid.
  • Cover the pan with a lid or aluminum foil. Bake the meat covered for 2 hours. Remove the lid and roast for an additional 1 hour or until an internal temperature of 185F is reached.
  • Remove from the oven and allow meat to rest for 15-20 minutes. Slice and serve.
Keyword Beef Brisket, Corned Beef Brisket

Crispy Oven-Baked Fish Fingers

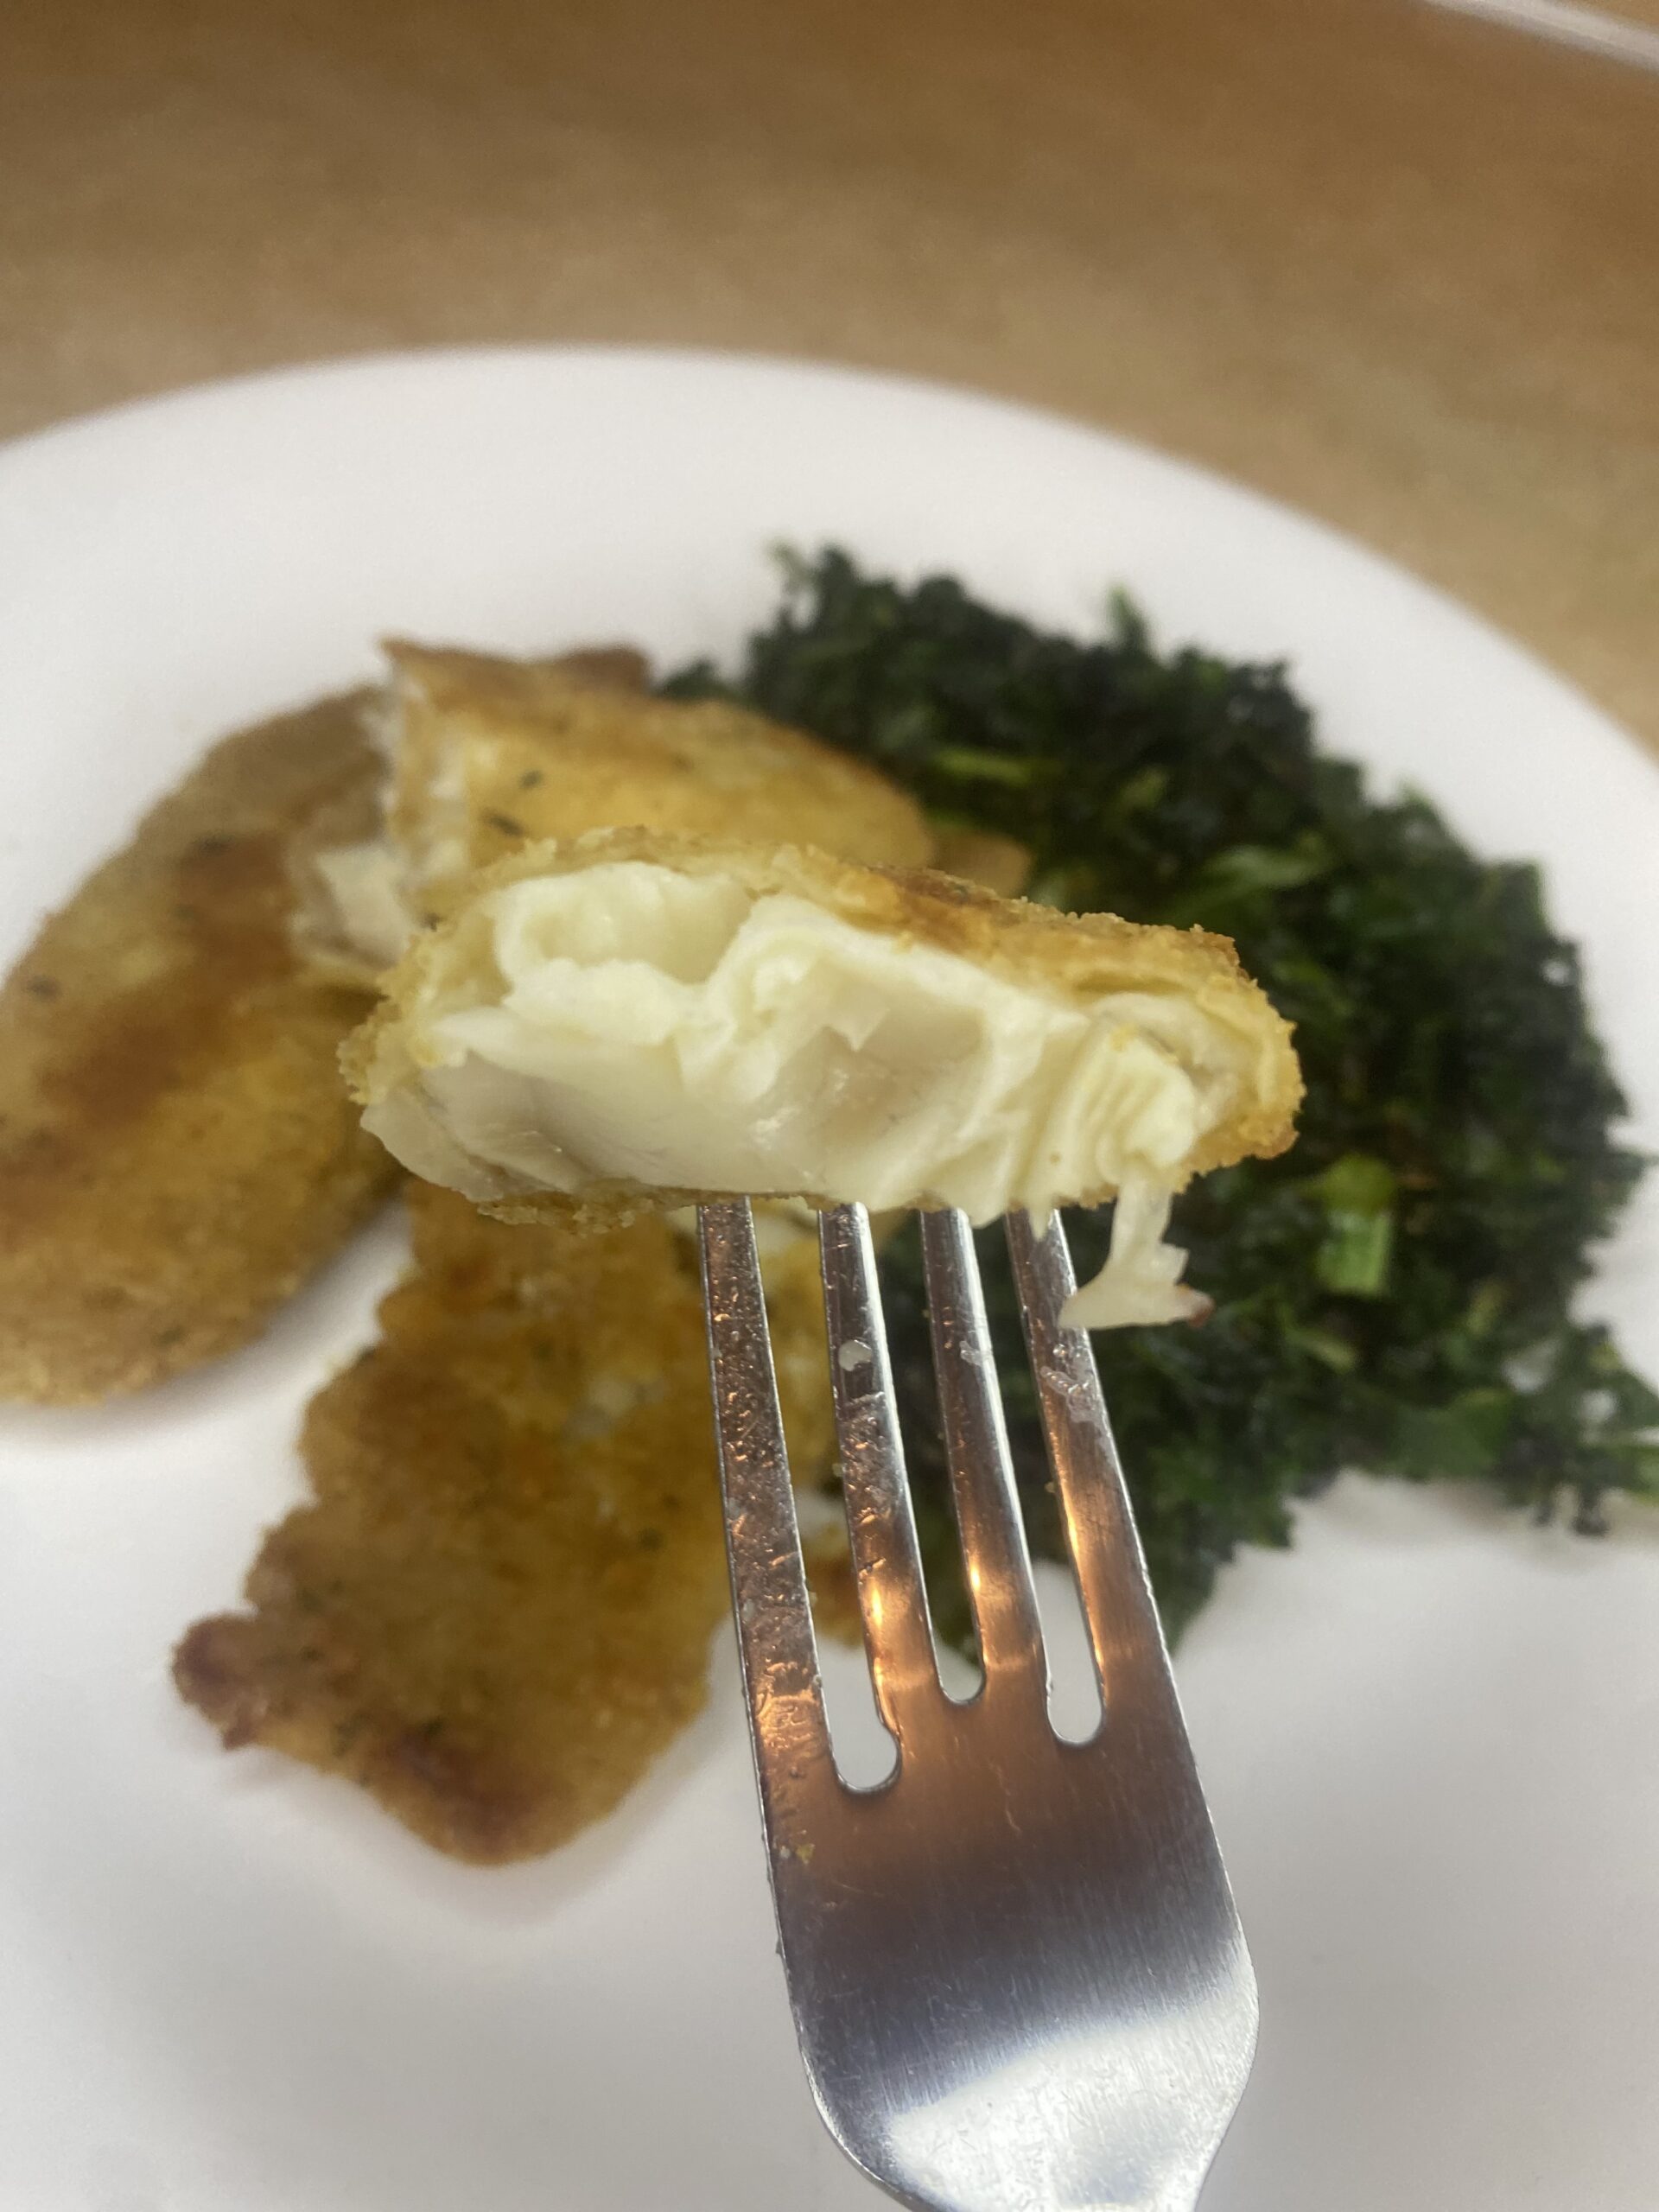
Crispy Oven-Baked Fish Fingers Close Up

This recipe is a healthier take on fish sticks your kids will love. These Crispy Oven-Baked Fish Fingers cook to a golden brown in the oven so need to pull out the deep fryer. Because don’t even get me started on cleaning that deep fryer.

There’s so many reasons to add tilapia to your list of easy, go-to meals…

  1. High Protein Content: Tilapia is rich in protein, which is essential for building and repairing tissues, maintaining muscle mass, and supporting overall health. A 3-ounce serving of cooked tilapia provides around 22 grams of protein.
  2. Low in Calories and Fat: Tilapia is low in calories and fat, making it an excellent option for those aiming to lose weight or maintain a healthy diet. A serving contains about 110 calories and 2-3 grams of fat.
  3. Affordable and Accessible: Tilapia is generally more affordable than many other types of fish, making it a budget-friendly option for incorporating seafood into your diet.

This tilapia is lightly coated with bread crumbs with a drizzle of melted butter. The filets create a much better fish stick experience versus the “minced who-knows-what” that is usually found in the frozen meals section of the grocery store.

Alright, before we get started…

Thaw your tilapia in the fridge the night before you plan on cooking.

Cut each filet in half down the middle to create “fingers.” Pat dry with paper towels and lightly salt filets. You will be salting again once the fish is done so don’t over do it this round.

Anytime you are going to be creating a breading for your dish, it makes the task much easier if you create an assembly line. Have large separate bowls for each the seasoned flour, the milk and egg mixture, and then the bread crumbs. Don’t use the same utensil to remove your fish from the dry ingredients as you use for dipping the wet ingredients. Keep the kitchen experience enjoyable by not making things harder than they have to be!

Some great sides to have with this dish are simple salads or any kind of steamed vegetables. You could also do a fish and chips meal and serve with fries.

Crispy Oven-Baked Fish Fingers Close Up

Crispy Oven-Baked Fish Fingers

This recipe is a healthier take on frozen fish sticks that your kids will love. Crispy, oven baked tilapia perfect for your next "Fish Friday."
Prep Time 20 minutes
Cook Time 20 minutes
Course Main Course
Servings 6

Ingredients
  

  • 2 lbs. tilapia, thawed and cut in half
  • 2 eggs, beaten
  • 3 Tbs. milk
  • 1 tsp. salt
  • ½ tsp. black pepper
  • 2 tsp paprika
  • 1 tsp garlic powder
  • ½ cup butter, melted
  • 1 cup all-purpose flour
  • 2 cups Panko bread crumbs

Instructions
 

  • Preheat oven to 425F.
  • Pat fish filets dry and lightly salt.
  • In a large bowl, combine eggs with milk. Set aside.
  • Put flour in a separate large bowl. Set aside.
  • In a third separate large bowl, combine bread crumbs with salt, pepper, paprika, and garlic powder.
  • Dredge each piece of fish in first the flour, then the egg mixture, and finally the bread crumb mixture.
  • Place fish in a single layer on baking sheet. Drizzle with melted butter.
  • Bake for 20-25 minutes, flipping halfway.
Keyword fish, tilapia