
Everyone loves a good brownie! But…not everyone likes to take the time to make them completely from scratch…myself included. We’d all like to know how to make Better Boxed Brownies! And with a few tricks, it’s easy to take any box of brownie mix to the next level. And the best part is no one will be able to tell.
- Use milk instead of water. The milk will help to make the brownies more richer and flavorful. Use can milk, buttermilk, or coconut milk for incredible results.
- Use melted butter instead of vegetable oil. Butter meaning real butter…not butter spread or margarine.
- Use instant coffee. Adding some instant coffee crystals will help to enhance the chocolate flavor in the brownies.
- Add some vanilla. Because why not?!? A splash of vanilla makes everything better.
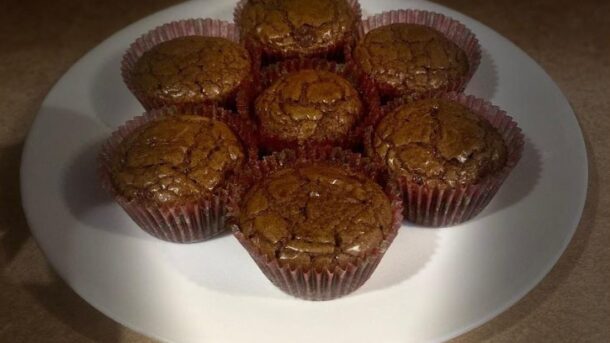
- Use a muffin pan. Making brownies in a muffin pan ensures everyone gets an edge piece. Just use cupcake liners and spray with cooking spray.
Ready for another easy dessert? Try these No-Bake Peanut Butter Cocoa Cookies.
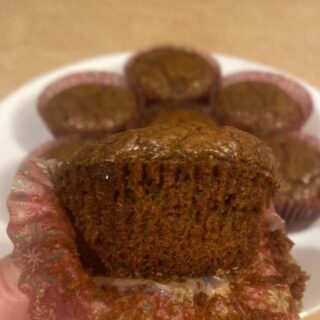
Better Boxed Brownies
Take boxed brownie mix to the next level.
Ingredients
- 1 box brownie mix (usually between 16 to 17oz packages)
- 2 TBS milk
- 2 eggs
- ½ cup melted butter
- 1 TBS instant coffee
- 1 TBS vanilla extract
Instructions
- Preheat oven to 350F and prepare pan by greasing bottom and sides. If making cupcakes, spray cupcake liners with cooking spray.
- In a large bowl, combine brownie mix, eggs, milk, melted butter, coffee crystals, and vanilla. Stir just until moist.
- Pour into prepared pan and bake according to box directions. For cupcakes, bake at 350F for about 20-25 minutes.