Freezer Meals

Low-Carb Keto Breakfast Cups

Keto Breakfast Cups on Plate

Keto breakfast cups are a delicious and convenient way to enjoy a low-carb, high-fat breakfast. The perfect combination of eggs, meat, cheese, and vegetables make them a great breakfast option for anyone following a low-carb diet. They are versatile and you can customize them with your favorite low-carb ingredients. They can also be made ahead of time and stored in the refrigerator for a quick and easy breakfast throughout the week.

So what’s so great about them?

  1. They’re low in carbs. These Keto Breakfast Cups contain minimal carbohydrates, making them suitable for those following a ketogenic diet that emphasizes low-carb, high-fat intake.
  2. High in Healthy Fats. These ingredients are rich in healthy fats, such as eggs and cheese, which are essential for those on a keto diet.
  3. Customizable. You can easily customize these keto breakfast cups based on your preferences and dietary needs. You can choose a variety of low-carb vegetables, meats, and cheeses to suit your taste.
  4. Convenient and Portable: Keto breakfast cups are easy to prepare in advance and can be stored in the refrigerator. This makes them a convenient, grab-and-go option for busy mornings.
  5. Meal Prep Friendly: You can make a batch of keto breakfast cups at the beginning of the week and store them in the fridge. This helps save time during busy mornings and ensures you have a keto-friendly breakfast readily available.
  6. Nutrient-Rich: Depending on the ingredients you choose, keto breakfast cups can be a good source of essential nutrients such as vitamins, minerals, and antioxidants from vegetables.
Keto Breakfast Cups on Plate

Low-Carb Keto Breakfast Cups

Keto breakfast cups are savory, individual-sized dishes made with ham, eggs, cheese, and vegetables.
Prep Time 5 minutes
Cook Time 20 minutes
Course Breakfast, Keto
Servings 12

Ingredients
  

  • 12 slices lunch meat
  • 8 large eggs
  • ¼ cup heavy cream or almond milk
  • 1 cup shredded cheese (your choice)
  • ½ cup diced vegetables (mushrooms, bell peppers, spinach, etc.)
  • salt and pepper to taste

Instructions
 

  • Preheat oven to 375F and grease a muffin tin with cooking spray or use silicone muffin cups for easy removal.
  • Place one slice of lunch meat in each muffin cup.
  • In a bowl, whisk together the eggs, heavy cream or almond milk, and salt and pepper.
  • Divide the shredded cheese and sliced vegetables evenly among the muffin cups.
  • Use a fork or toothpick to gently stir the ingredients in each cup, ensuring that the egg mixture is well distributed.
  • Bake in the preheated oven for 18-20 minutes or until the eggs are set and the tops are golden brown.
  • Allow the keto breakfast cups to cool for a few minutes before using a knife or spoon to loosen the edges and remove them from the muffin tin.
Keyword 30-minutes or less, breakfast, Keto

Hearty Chili with Beans

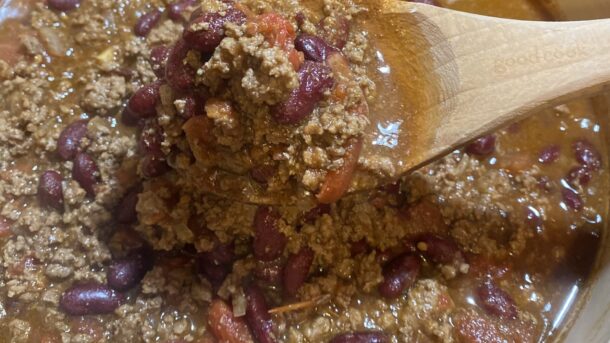
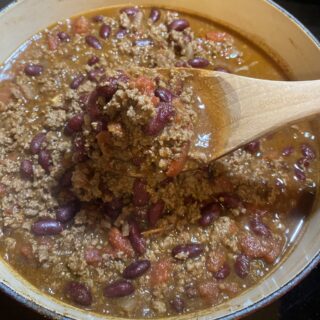
Hearty Chili in Dutch Oven

This dump and go hearty chili is rich and flavorful and is the perfect meal to warm you to the bone. It’s filled with ground beef, kidney beans, diced tomatoes, and just the right amount of spice. It’s mild enough for granny and the kids, but can be adjusted by adding more or less cayenne pepper.

This Hearty Chili is a great option for meal prep because it often tastes even better the next day as the flavors have had time to meld together. You can make a big batch of chili ahead of time and portion it out for easy lunches or dinners throughout the week.

It tastes great served over cornbread, with crackers, or over some corn chips. It’s even hearty and delicious by itself.

The best toppings…

Sour cream: Go ahead and do a dollop

Green onions: Sliced and sprinkled on top

Shredded Cheese: Because…of course!

Jalapenos: Add some heat in there

Avocado: Sliced and piled on top

For storage…

Refrigerate in an air-tight container for 5-7 days or freeze for 2-3 months. If freezing, place in a ziplock and freeze flat for easier storage and a quicker thaw time.

Ready for another quick and easy dinner recipe? Try our American Goulash.

Hearty Chili in Dutch Oven

Hearty Chili

Rich and flavorful chili with ground beef, kidney beans, and diced tomatoes.
Prep Time 15 minutes
Cook Time 15 minutes
Course Main Course
Servings 8

Ingredients
  

  • 2 lbs. lean ground beef
  • ½ yellow onion, diced
  • 2 14.5oz cans of red kidney beans (or whatever beans you like in yours)
  • 2 14.5oz cans diced tomatoes
  • 2 TBSP chili powder
  • 2 tsp cumin
  • 2 tsp garlic powder
  • 2 tsp salt
  • 1 tsp onion powder
  • 1 tsp oregano
  • ½ tsp ground black pepper
  • ½ tsp cayenne pepper (more or less to taste)
  • 2 TBSP Worcestershire sauce

Instructions
 

  • Brown ground beef in a large skillet or Dutch oven. Add onion and cook until translucent. Drain. Do not rinse!
  • Return to pan and add kidney beans, tomatoes, spices, and Worcestershire sauce. Bring to a simmer. Vent lid and cook for about 15 minutes. For richer flavor, cook a little longer on a low simmer.
  • Garnish and serve.
Keyword 30-minutes or less, chili

One Pot American Goulash

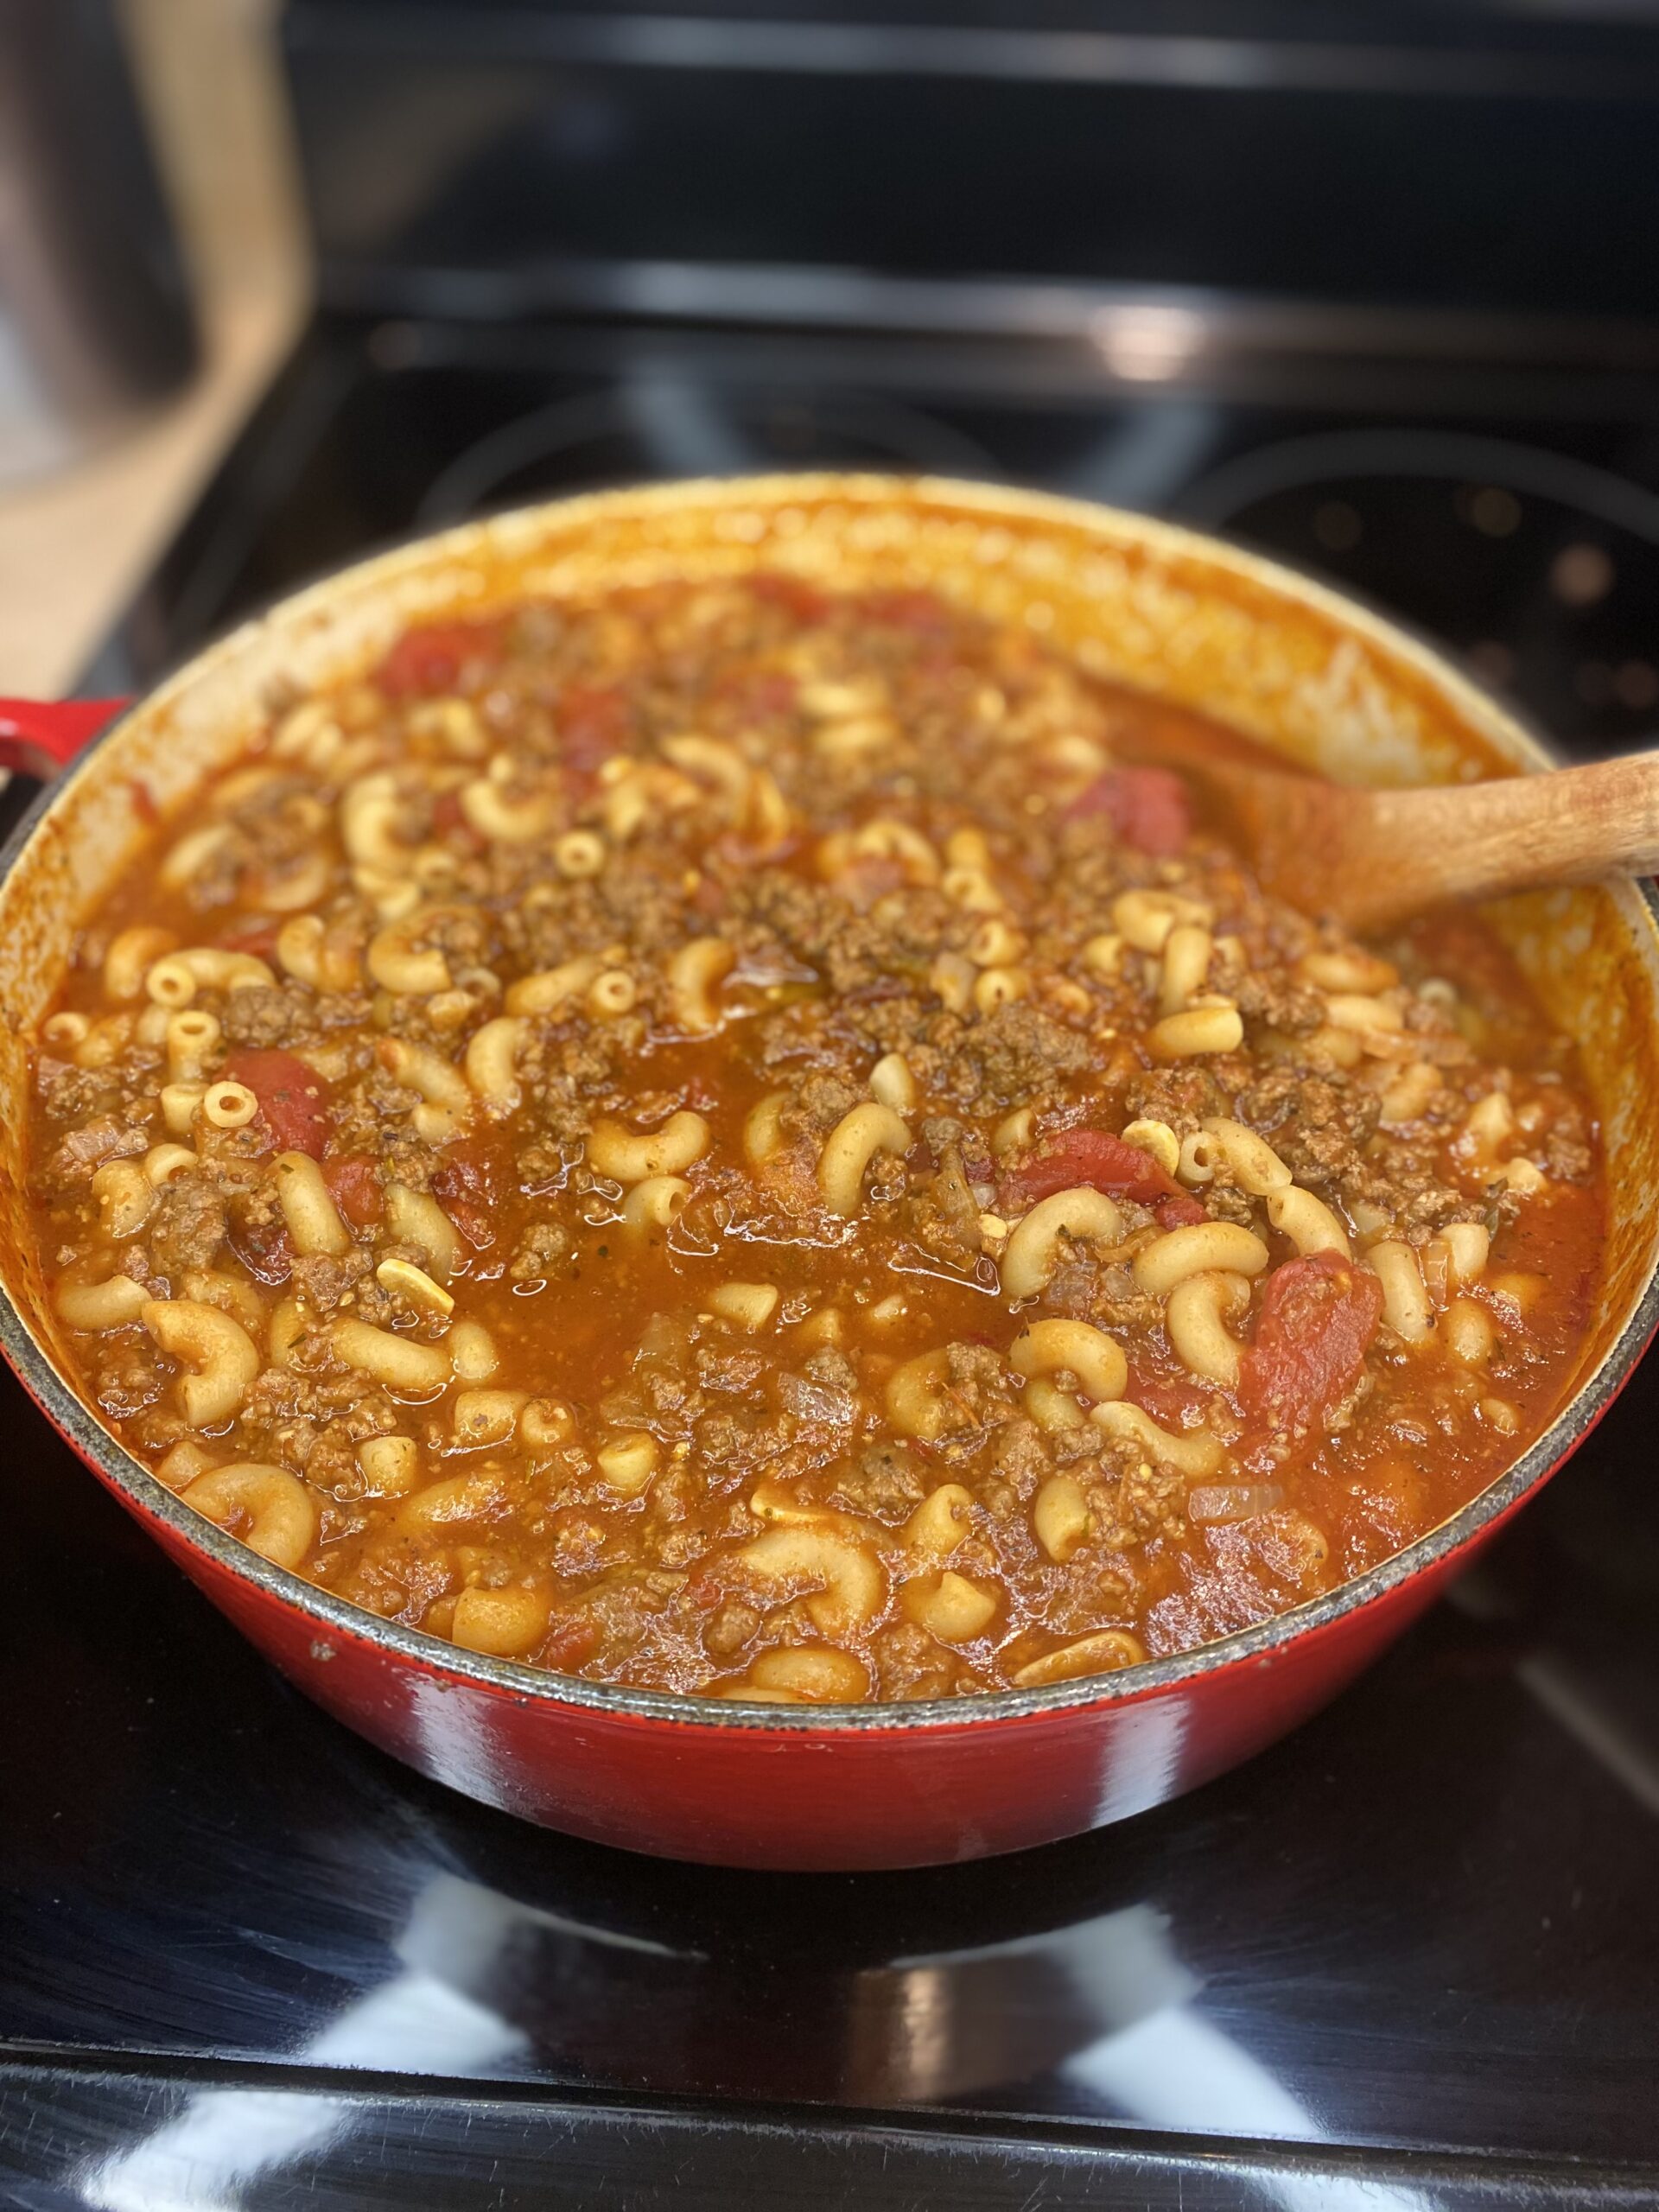
American Goulash

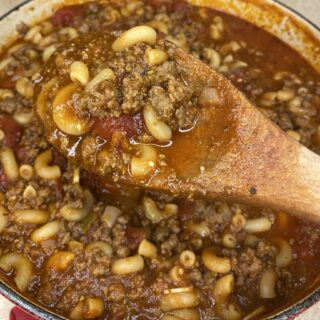
This American Goulash recipe is just a variation of the popular Hungarian dish that typically uses stew meat and has more vegetables.

Don’t let the simplicity of this recipe fool you! Although this dish uses cheap ingredients, it is packed with flavor!

If you want to save a little time, you can boil the macaroni in a separate pan while cooking the ground beef, but why dirty more dishes just to save 10 minutes?

It’s hearty and filling alone, but homemade bread or dinner rolls are a great side. Other great options would be a simple salad or vegetables such as corn or green beans.

Goulash can typically be stored in the refrigerator for up to 3 to 4 days or in the freezer for up to 3 months.

Ready for another one pot dinner? Try Hearty Chili with Beans.

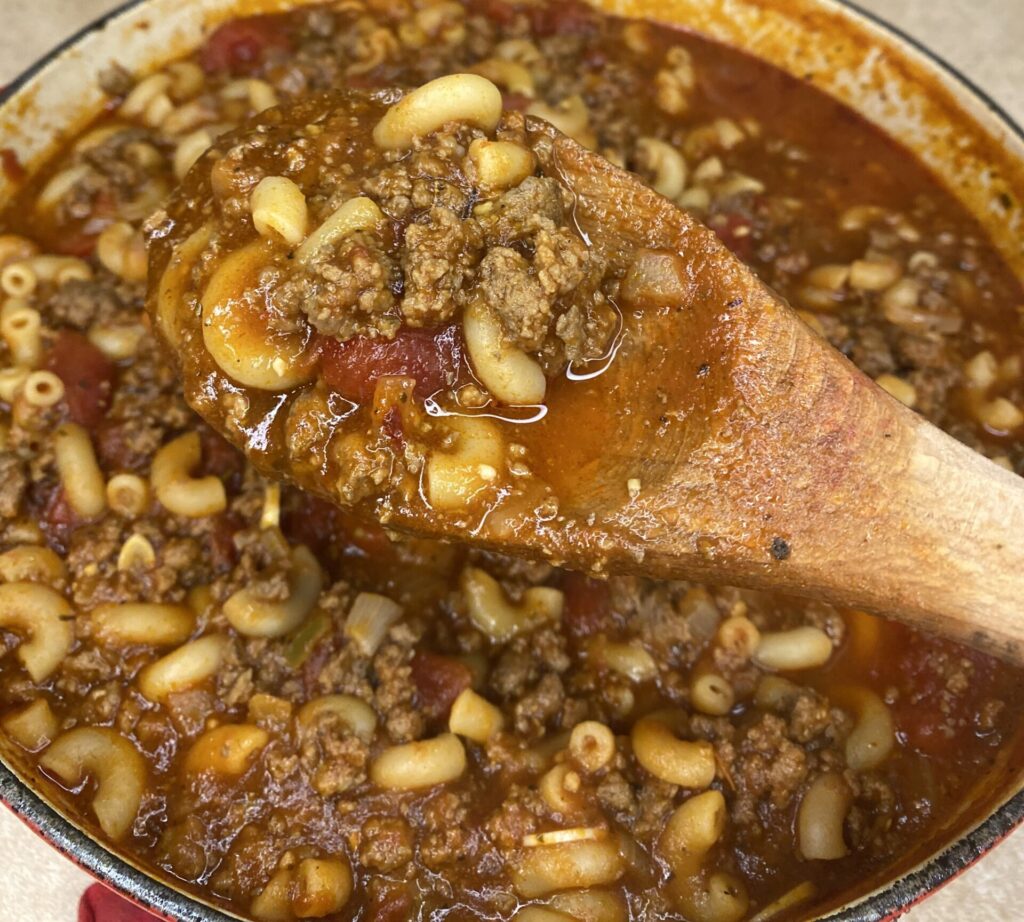
American Goulash in a Wooden Spoon

American Goulash

Hearty, one-pot meal of ground beef, pasta, and veggies. Cheap, simple ingredients make this dish a weeknight go-to.
Prep Time 10 minutes
Cook Time 30 minutes
Course Main Course
Cuisine American
Servings 8

Equipment

  • Dutch oven

Ingredients
  

  • 2 cups elbow macaroni
  • 2 lbs. lean ground beef
  • 1 onion, finely chopped
  • 4 cloves garlic, minced or finely chopped
  • 2 15 oz. cans tomato sauce
  • 2 14.5 oz. cans diced tomatoes (petite diced works best)
  • 2 cups beef broth
  • 1 cup water
  • 3 Tbs. Worcestershire sauce
  • 2 Tbs. Italian seasoning
  • 1 Tbs. salt
  • ½ Tbs. black pepper

Instructions
 

  • In a Dutch oven, brown ground beef with salt and pepper. Add onion and garlic and cook until translucent. If not using LEAN ground beef, drain. Do not rinse!
  • Add remaining ingredients except the macaroni. Cook just to boiling, then add the macaroni. Cover with lid and reduce heat to a simmer.
  • Cook covered, for 15 to 20 minutes. Check at 15 minutes to make sure macaroni is done.
  • Finish with grated Parmesan or Romano cheese.
  • Enjoy a hearty meal while knowing you only have to wash one pan!
Keyword beef, Pasta

The Best Banana Bread Recipe

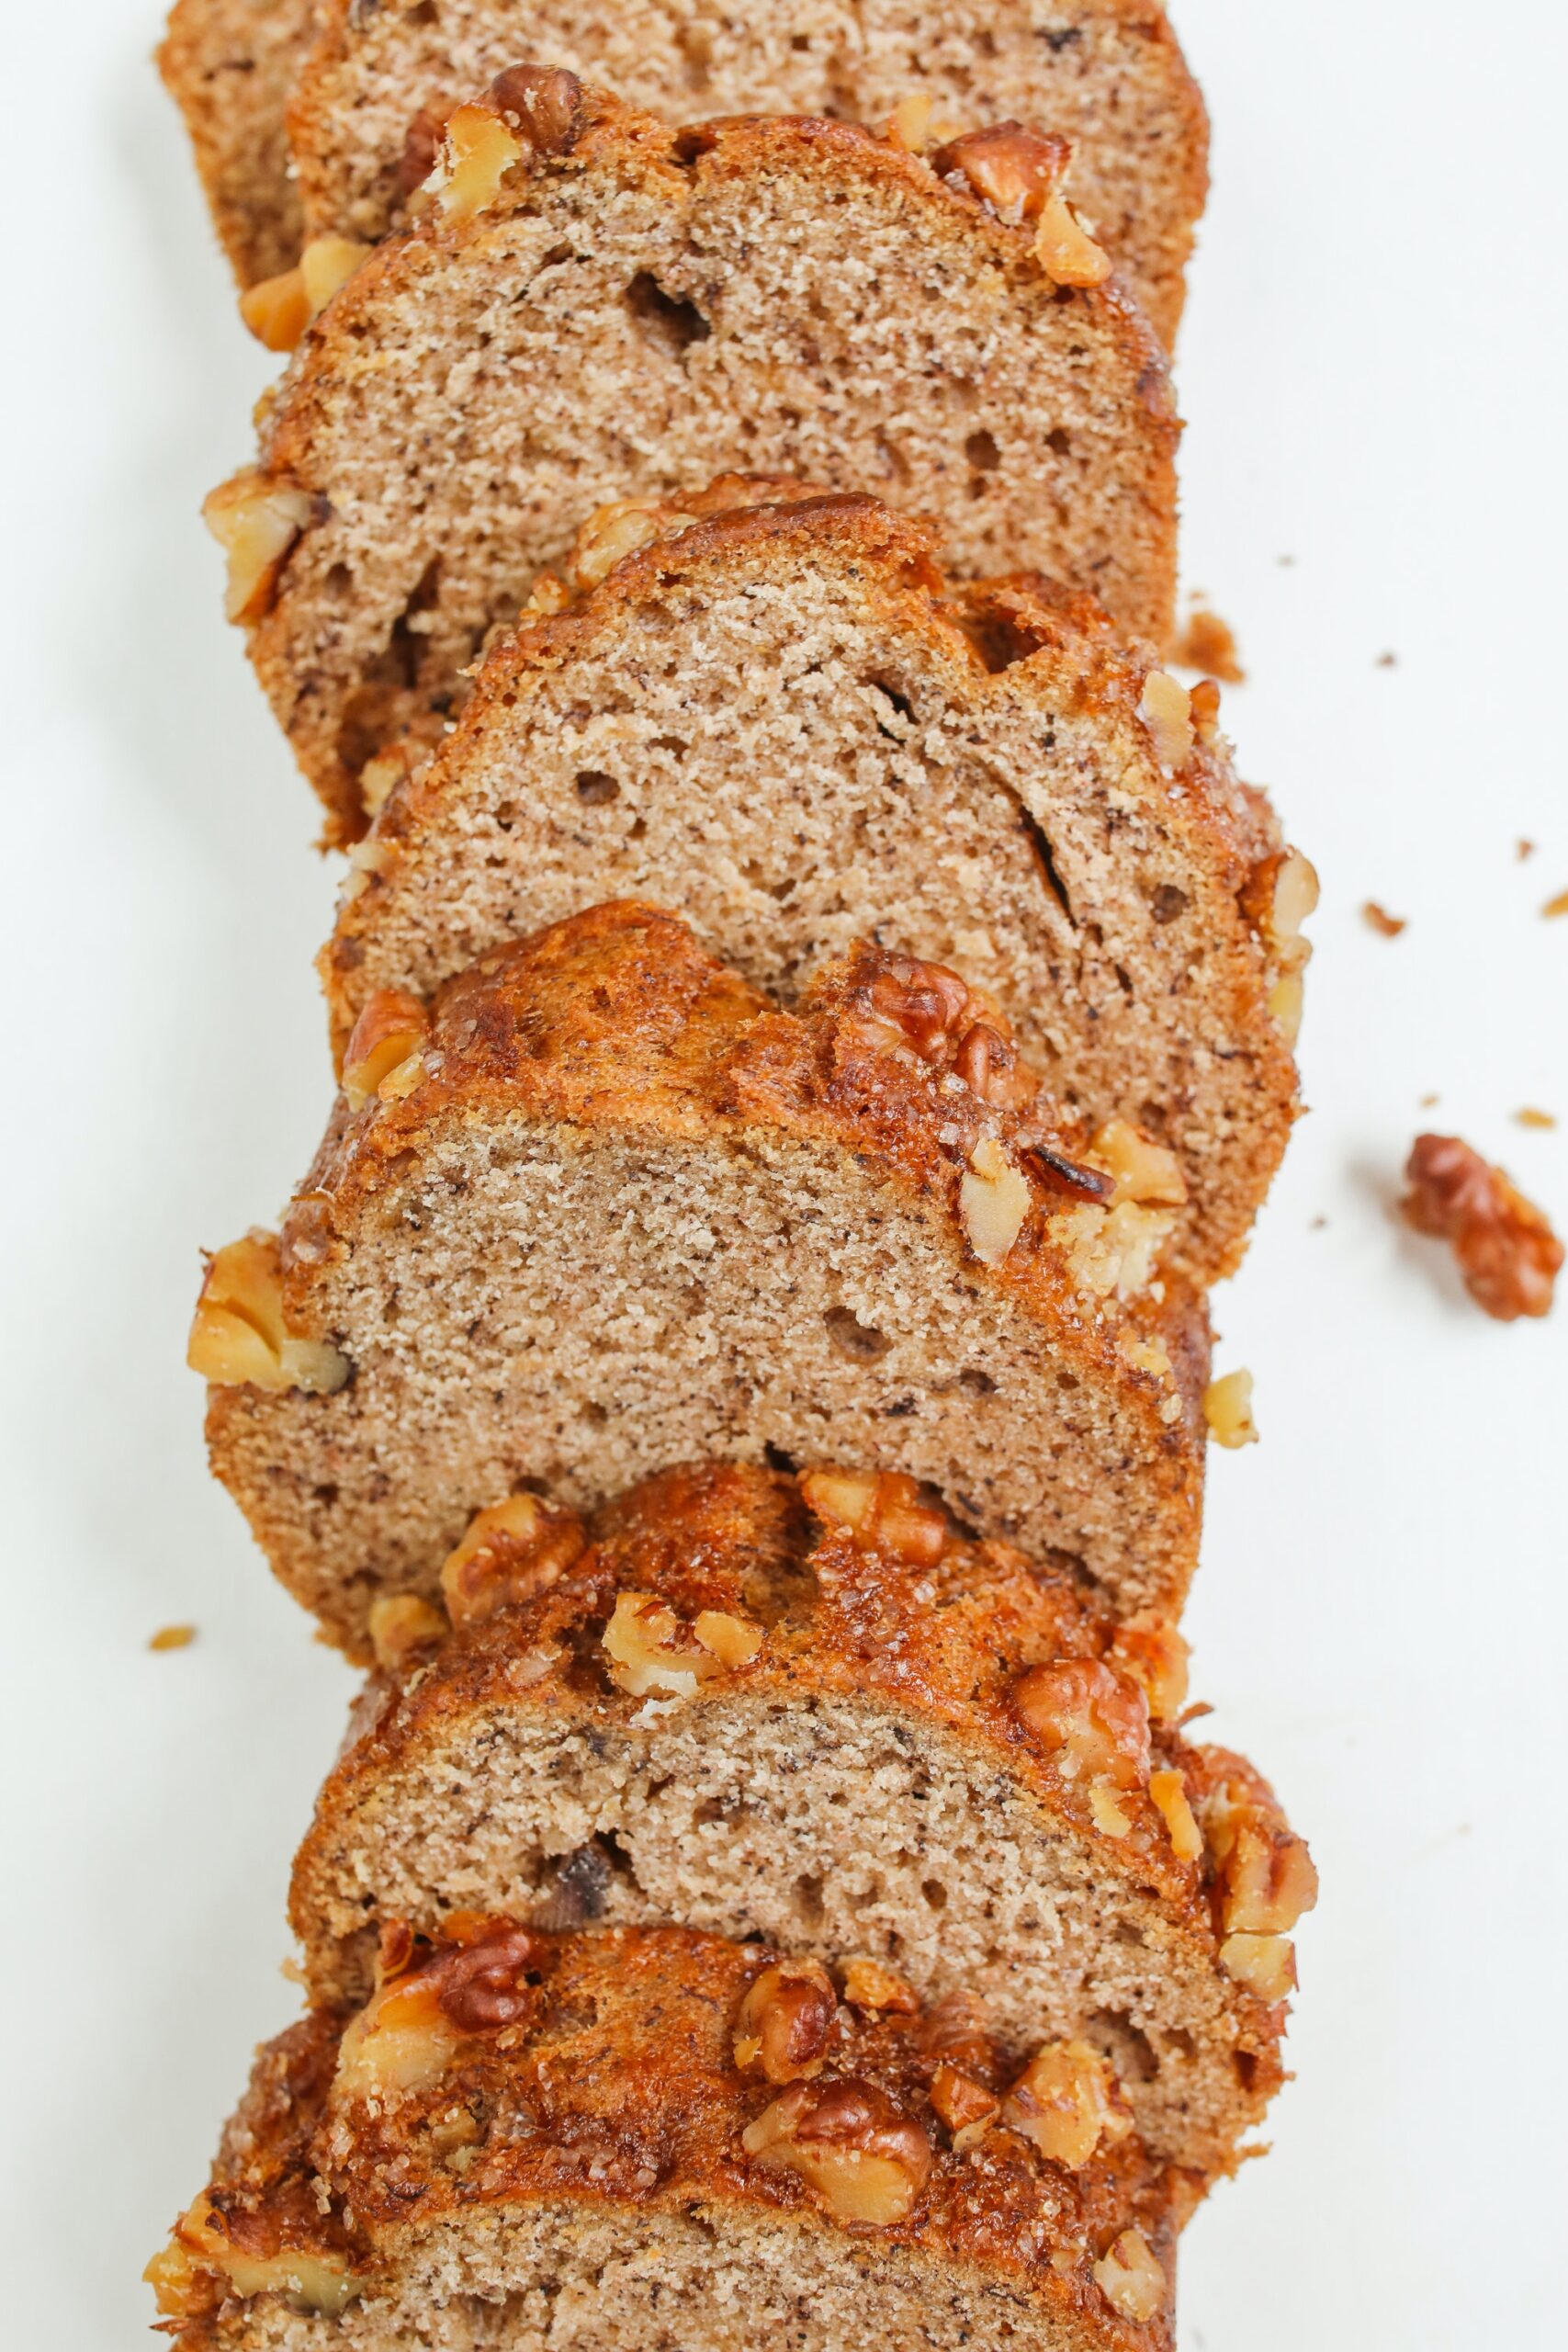
sliced banana bread

This banana bread is so moist and fluffy. The streusel-nut topping makes it sweet enough to eat for dessert. It pairs well with a cup of coffee and can be eaten on its own or spread with butter or cream cheese. The natural moisture from the ripe bananas contributes to the bread’s soft and tender texture.

When making this recipe, there’s just a few things you want to remember…

Tip #1 You want to make sure you are using very ripe bananas. In fact, the riper the better. You can make your bananas ripen quicker by storing them in a paper bag or you can bake them with peels on in a 300 degree oven for about 20 minutes.

Tip #2 Another important thing to remember is to thoroughly mash your bananas before adding them into your other wet ingredients. Mashing them helps to incorporate the banana flavor throughout your bread.

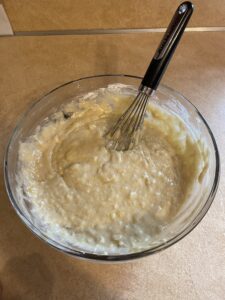
Tip #3 Don’t overmix your dough. When adding your wet and dry ingredients together, it’s important to mix just until moistened. The dough will be lumpy, but if you’ve sifted your flour (which I recommend doing every time you’re baking), you shouldn’t have to worry about those pesky clumps. So don’t overmix. The more you mix, the more gluten develops which leads to a dense, rubbery loaf.

Tip #4 Wrap and store overnight before slicing. You never want to slice banana bread when it first comes out of the oven. After baking, allow pan to cool on a wire rack, then remove bread from pan. Cool completely on wire rack. Wrap in plastic wrap and let sit overnight. This will ensure clean, easy slicing.

Ready for another Fall inspired dessert?  Try this Double Layer Pumpkin Pie.

The Easiest Banana Bread

Banana Bread

Sarah Sexton
Classic Banana Bread with Streusel-Nut Topping
Prep Time 25 minutes
Cook Time 55 minutes
Course Bread
Servings 16 slices
Calories 215 kcal

Ingredients
  

  • 2 cups all-purpose flour
  • 1 ½ teaspoons baking powder
  • ½ teaspoon baking soda
  • ¼ teaspoon salt
  • teaspoon ground nutmeg
  • 2 eggs, beaten
  • 1 ½ cups mashed ripe banana about 5 medium
  • 1 cup sugar
  • ½ cup melted butter can use cooking oil or margerine
  • ¼ cup chopped walnuts

Streusel-Nut Topping

  • ¼ cup packed brown sugar
  • 3 tablespoons all-purpose flour
  • 2 tablespoons butter
  • cup chopped walnuts

Instructions
 

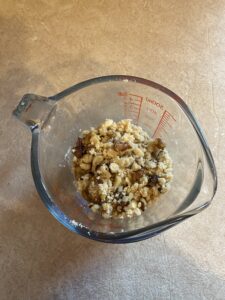
  • Streusel-Nut Topping: In a small bowl combine 1/4 cup packed brown sugar and 3 tablespoons of flour. Cut in 2 tablespoons of butter until mixture resembles coarse crumbs. Stir in 1/3 cup chopped walnuts and set aside.
    Mixing streusel-nut topping
  • Preheat oven to 350F. Grease bottom and sides of a 9x5x3-inch or two
    7 1/2x3 1/2x2-inch loaf pans and set aside.
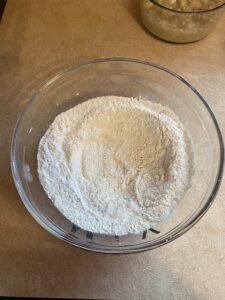
  • In a large bowl, combine flour, baking powder, baking soda, salt, cinnamon, and nutmeg. Make a well in the center and set aside.
    Making a well in flour mixture
  • In a medium bowl, combine eggs, bananas, sugar, and oil. Add egg mixture all at once to flour mixture. Stir just until moistened (Don't overmix).
    lumpy batter in mixing bowl
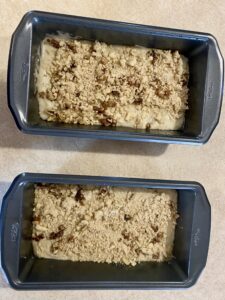
  • Fold in walnuts. Spoon batter into prepared pans. Sprinkle Streusel-Nut Topping over batter in pan(s).
    Banana Bread before baking
  • If you are using a 9x5x3-inch pan, bake for 55 minutes to 1 hour. Bake about 40 to 45 minutes for two loaf pans.
  • Cool in pan on wire rack for 10 minutes, then remove from pan and cool completely. Wrap and store overnight before slicing.
    Banana Bread after baking
Keyword Banana, banana cake, bread, breakfast, sweet bread